
HomeWillberry Wonder Pony Biscuits

Latest News
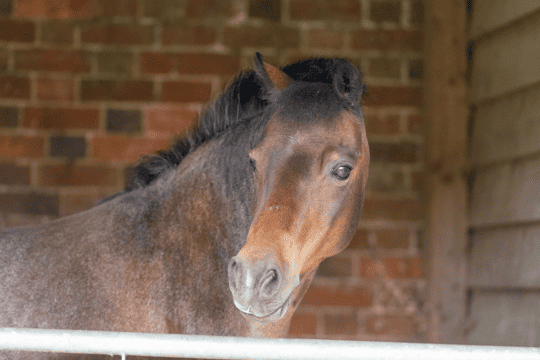
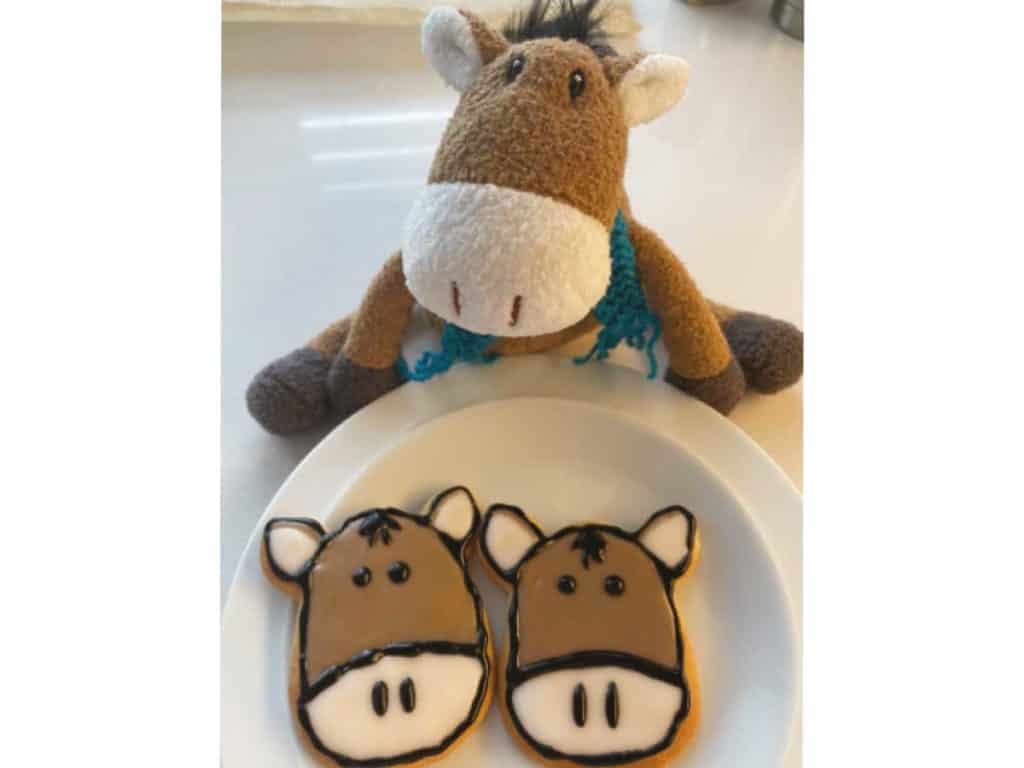
Willberry Wonder Pony Biscuits
Follow our step-by-step guide to make these adorable biscuits
To make approximately 20 Willberry biscuits, you’ll need…
- 85g soft unsalted butter
- 100g caster sugar
- one large egg
- ½ teaspoon vanilla extract
- 200g plain flour
- ½ teaspoon baking powder
- ½ teaspoon salt
- pony-shaped cutter
METHOD…
- Cream the butter and sugar together until pale. Then, beat in the eggs and vanilla extract.
- In another bowl, combine the flour, baking powder and salt before adding them to the butter and egg mixture.
- Gently mix everything together. If the dough’s too sticky when combined, add in a sprinkling of flour until it’s a good texture to roll out.
- Place your dough on a floured surface and use a rolling pin to roll it out until it’s ½cm thick.
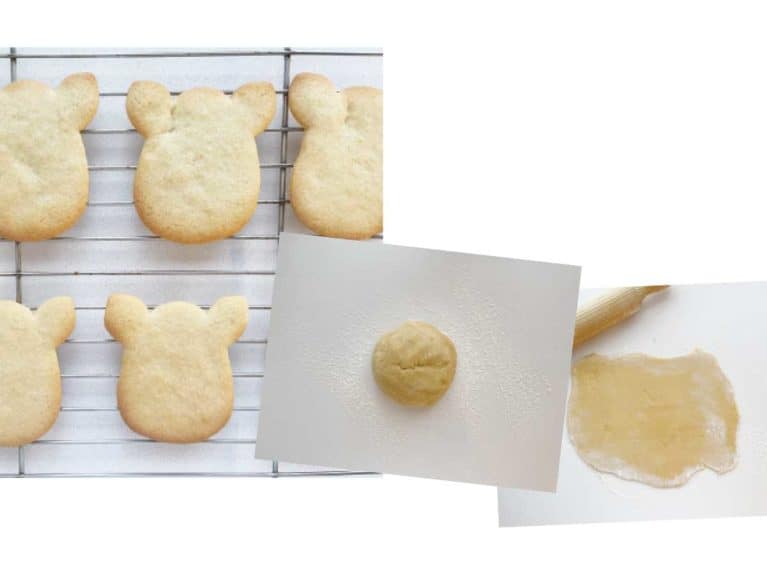
- Use your pony cutter to make the dough into shapes and place them on a tray lined with greaseproof paper. Pop them into the fridge for an hour to rest so they maintain their shape.
- When the biscuits are ready for baking, heat the oven to 180ºC and bake for 8–12 minutes, until they’re golden brown around the edges.
- Once cooked, allow the biscuits to cool completely – putting them in the fridge will speed up this process! Then get your ingredients and icing tools ready.
Here’s how to decorate…
- 150g icing sugar
- brown and black food colouring
- piping bag or tube
8. Add water to your icing sugar to make a thick paste. Grab two more bowls and divide the mixture into three.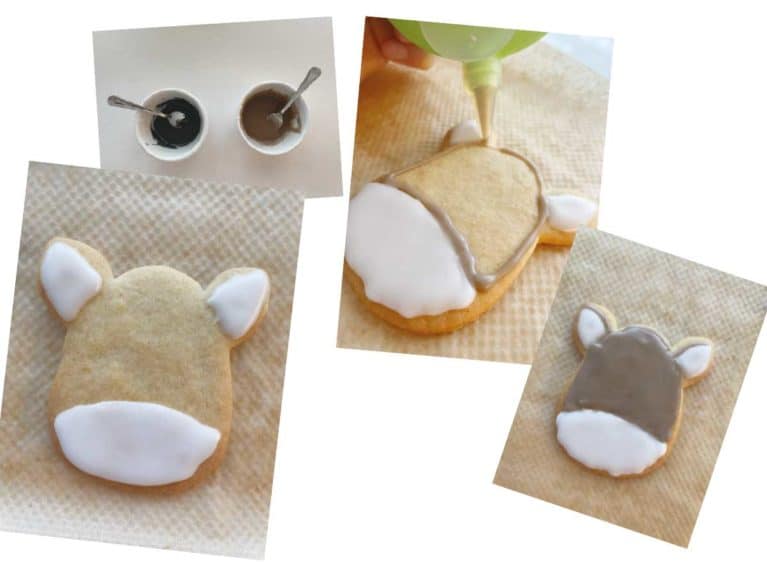
9. Colour one bowl of icing black, one brown and leave the third bowl of icing white.
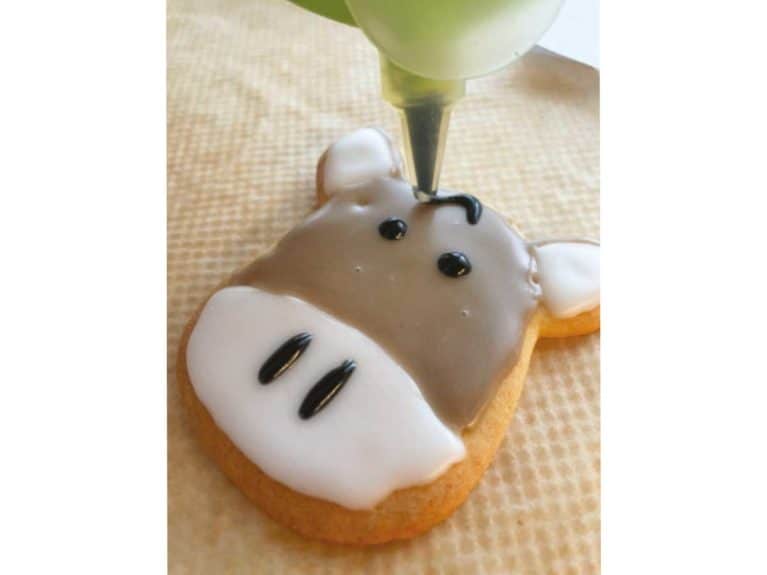
10. Start by putting the white icing in your piping bag. Draw an oval on the bottom of the biscuit to create Willberry’s nose, then two triangles for his ears.
11. Wait for the white sections to dry, then use the brown icing to draw the top half of Willberry’s face and the edges of his ears.
12. Next, pour the black icing into your piping bag and add the finishing details – eyes, nose and forelock – and outline each of the sections on his face. All done! A super-cute Willberry Wonder Pony biscuit that almost looks too good to eat!
Your Comments
2 responses to “Willberry Wonder Pony Biscuits”
Leave a Reply
You must be logged in to post a comment.
Related Articles


So fun
LOOKS SOOO YUMMY!