
HomeMake a pony cushion!
Latest News
Make a pony cushion!
Learn how to make a super-cute pony cushion for your bedroom!
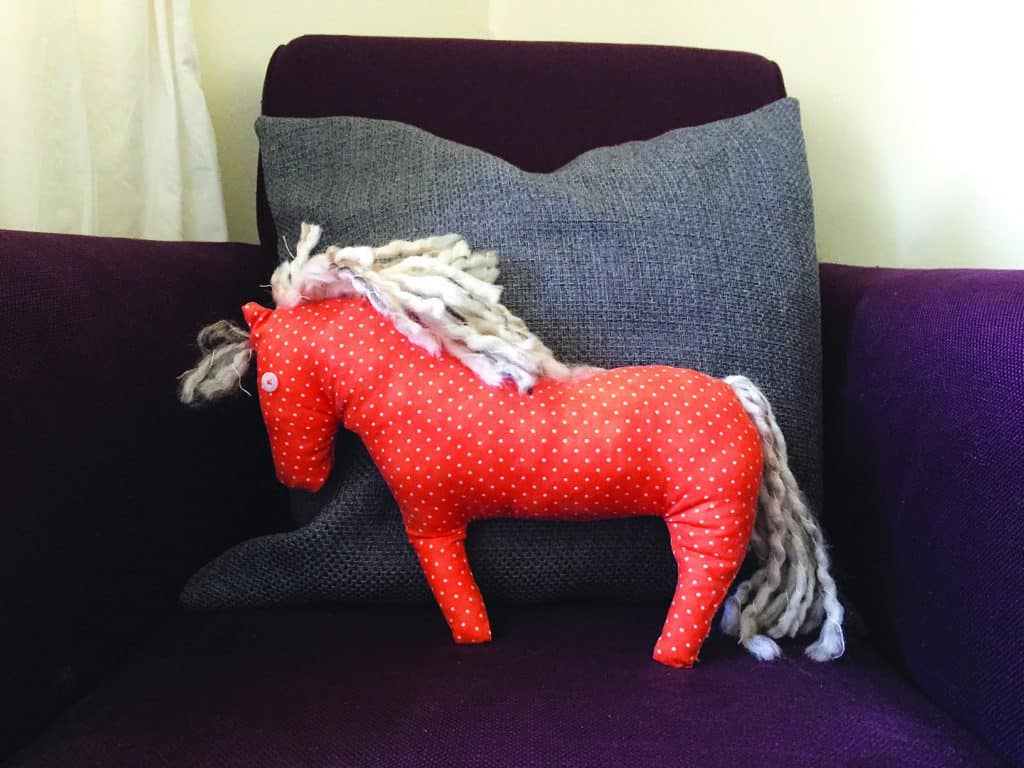
You’ll need…
✰ fabric (whatever pattern or colour you’d like)
✰ needle and thread
✰ pony template
✰ buttons
✰ wool
✰ scissors
✰ glue stick
✰ cuddly toy stuffing (you shouldn’t need more than 100g)
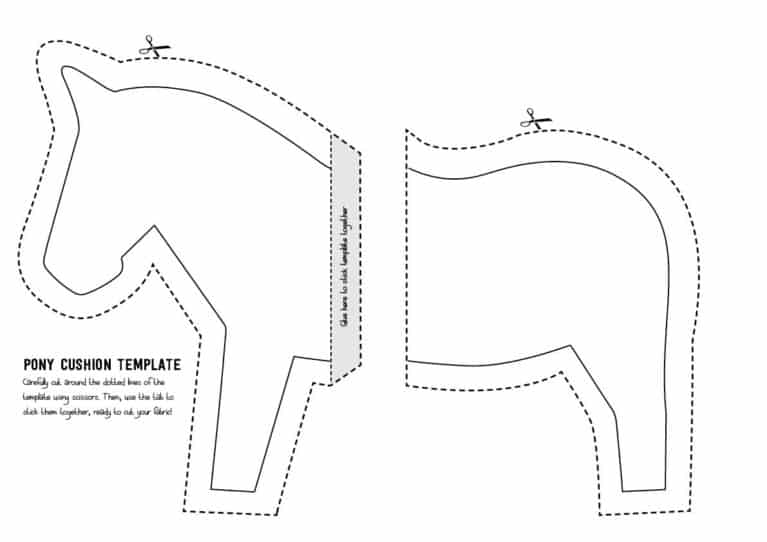
Sewing template for pony cushion
If you want to try your hand at making this decorative pony cushion, click on the image below to download the template. Print it out on A4 paper, then glue the two sides together. If you want to make a giant PONY cushion, print the two halves on A3 paper!
Sewing guide
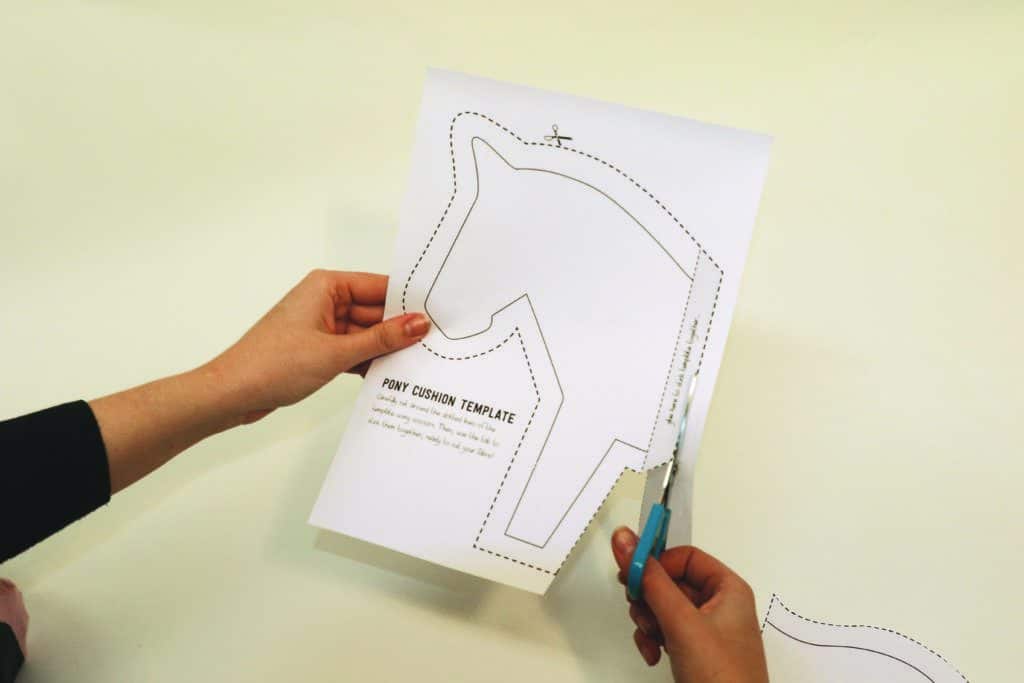
- Print out the cushion template and cut around the dotted seam line. Glue the two halves together.
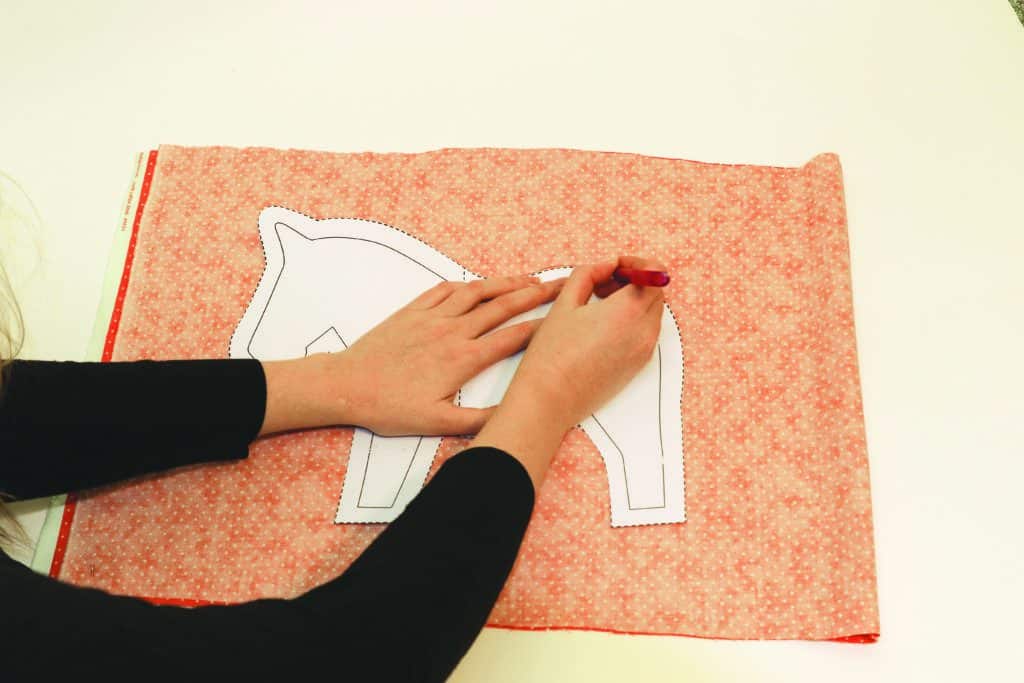
- Fold the material in half and draw around the template on the back of the fabric. Cut out the material.
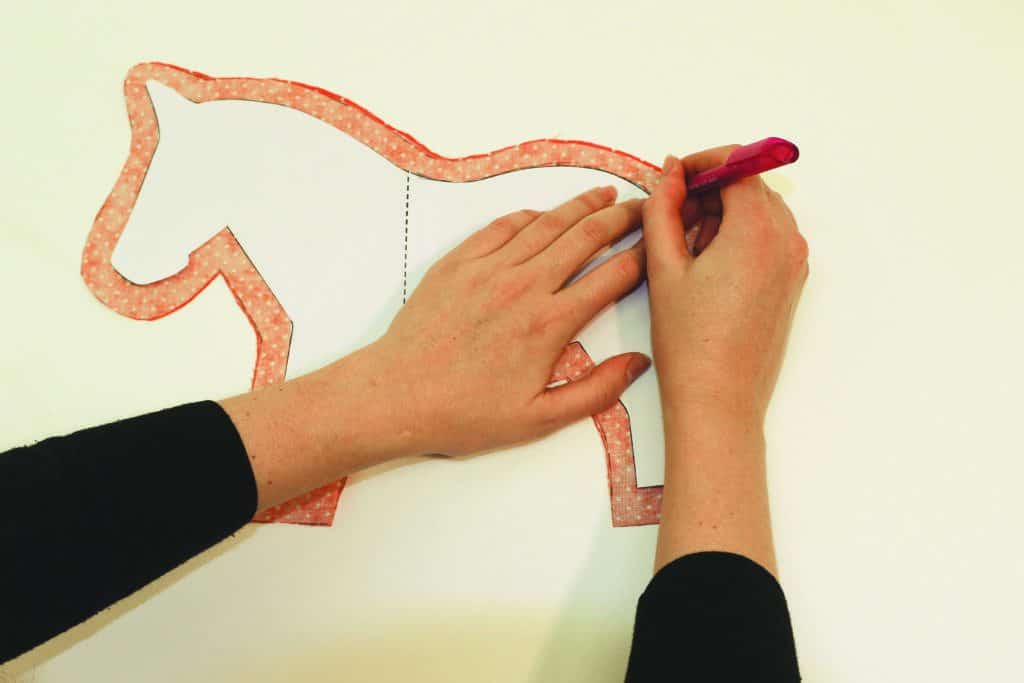
- Cut around the inside sewing line of your template, then place it on the material and draw around it again.
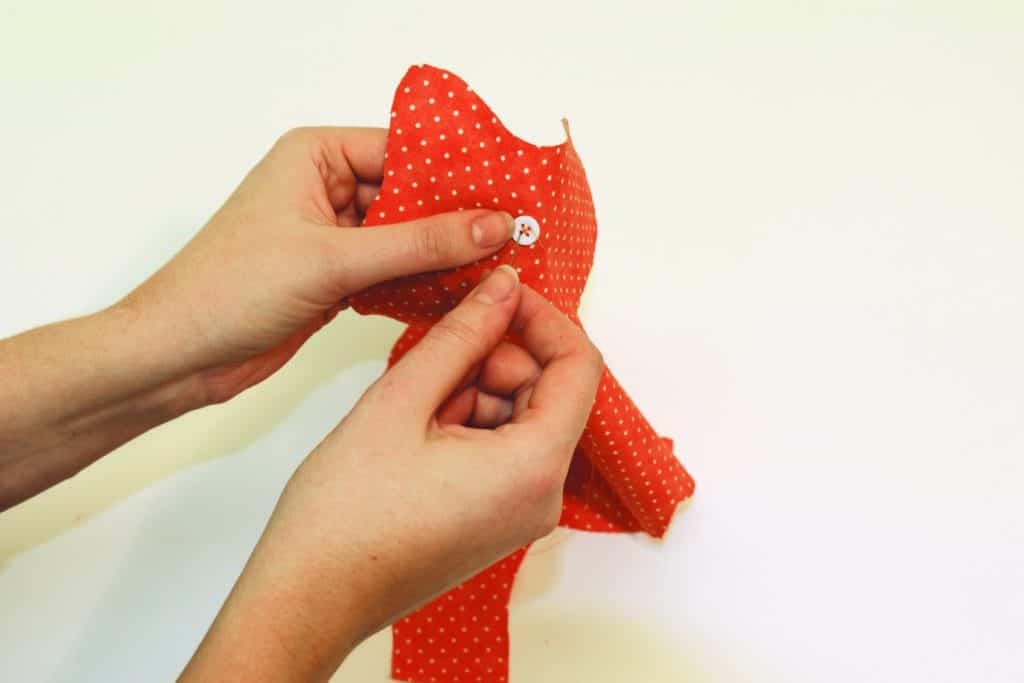
- Mark a dot on the patterned side of each piece of material where you want the eye to be, and sew the buttons on.
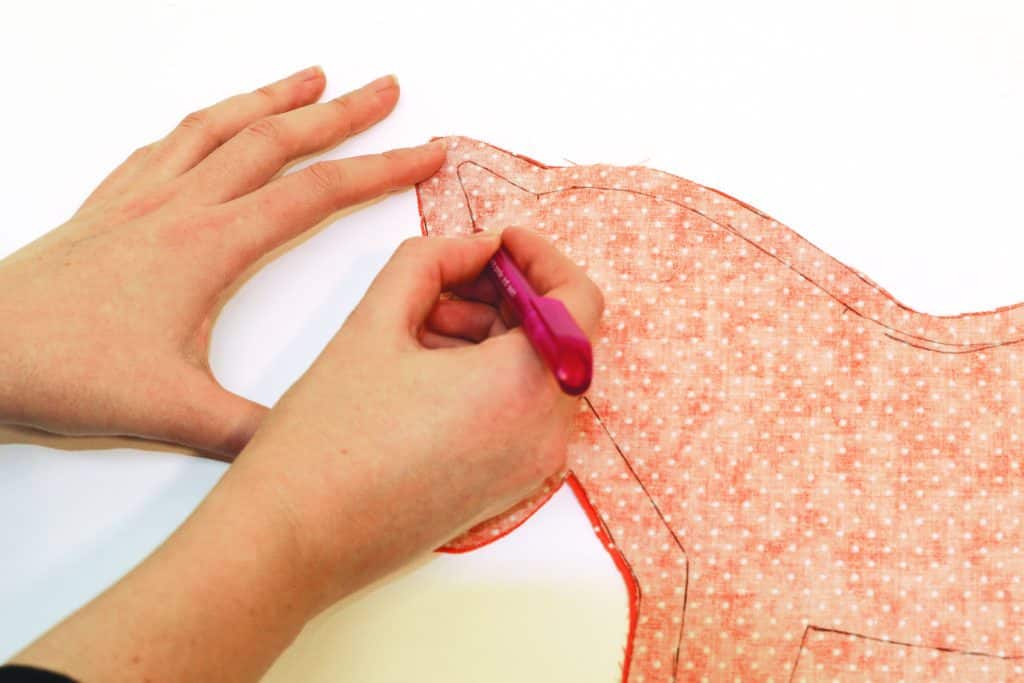
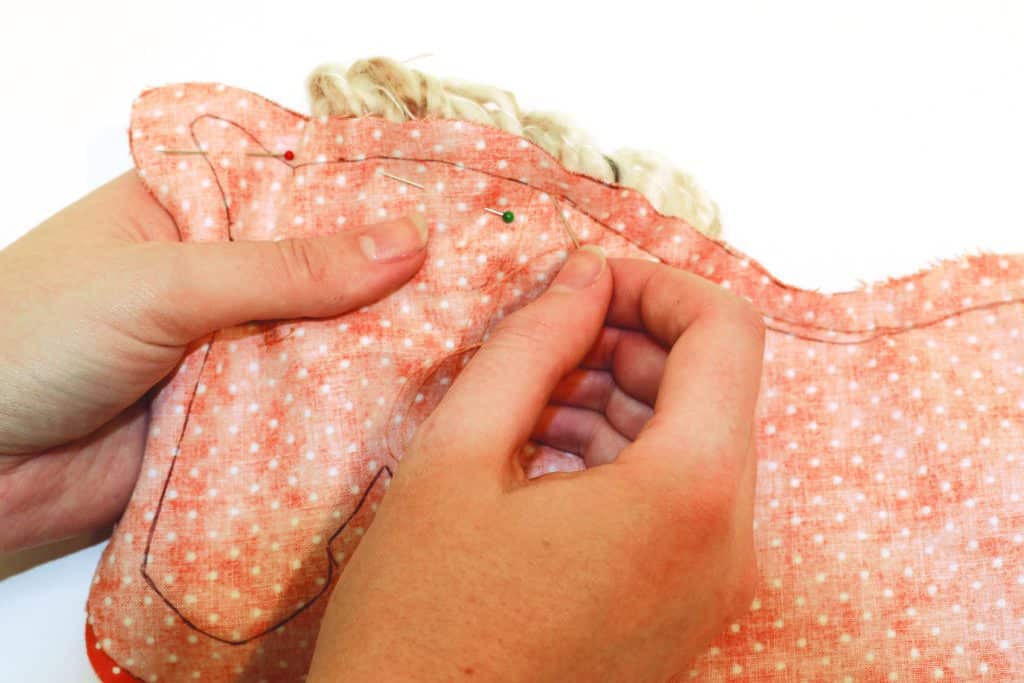
- Mark on the material where the mane, forelock and tail will be, then pin both pieces of material together, pattern side in.
- Start sewing along the inside line in backstitch about 10cm up from the bottom of the hindleg, towards the cushion’s tail.
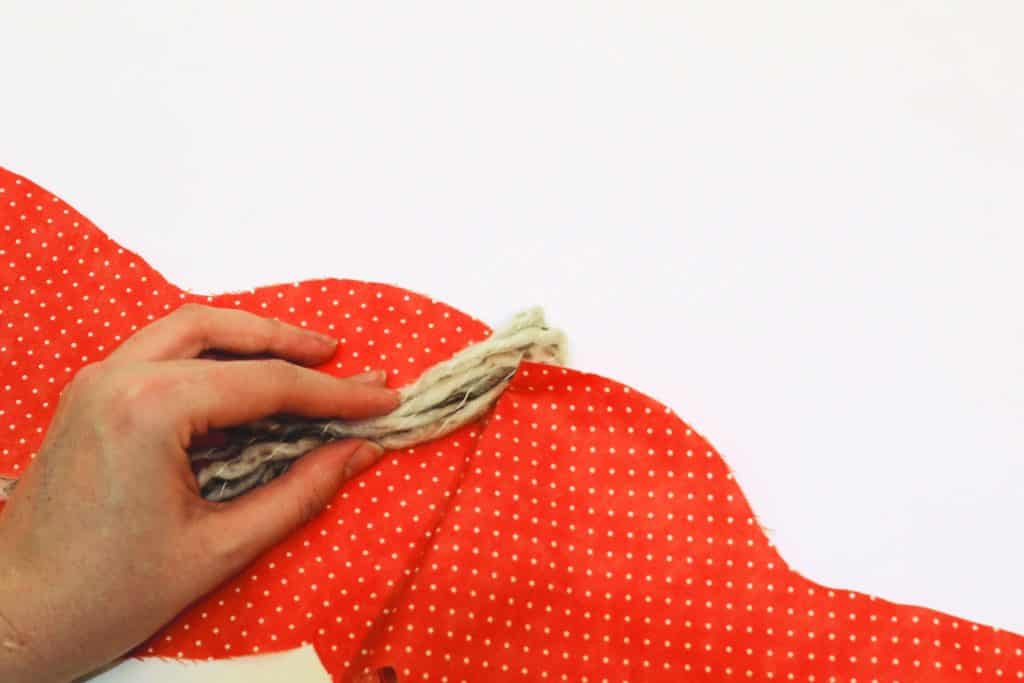
- For the tail, cut five strands of wool around 30cm long. Fold them in half, then place them between the two pieces of fabric.
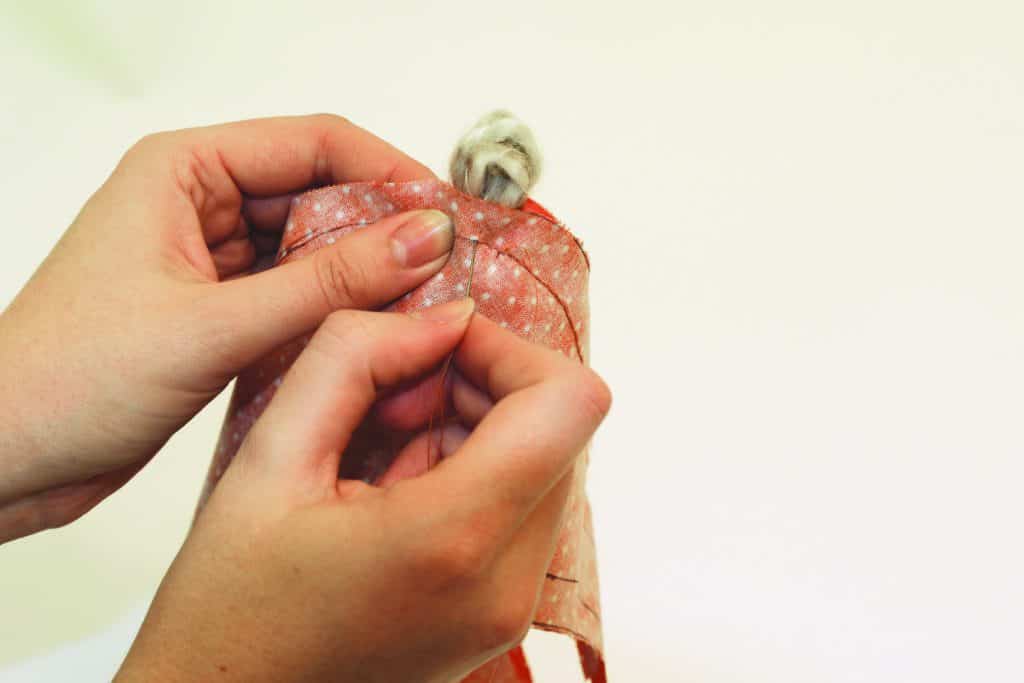
- Carry on sewing to secure the tail in place, then continue around the rest of his body until you reach the mane.
- For the mane, repeat the same process as the tail. Finish sewing around the pony, stopping when you get to the bottom of the hindleg.
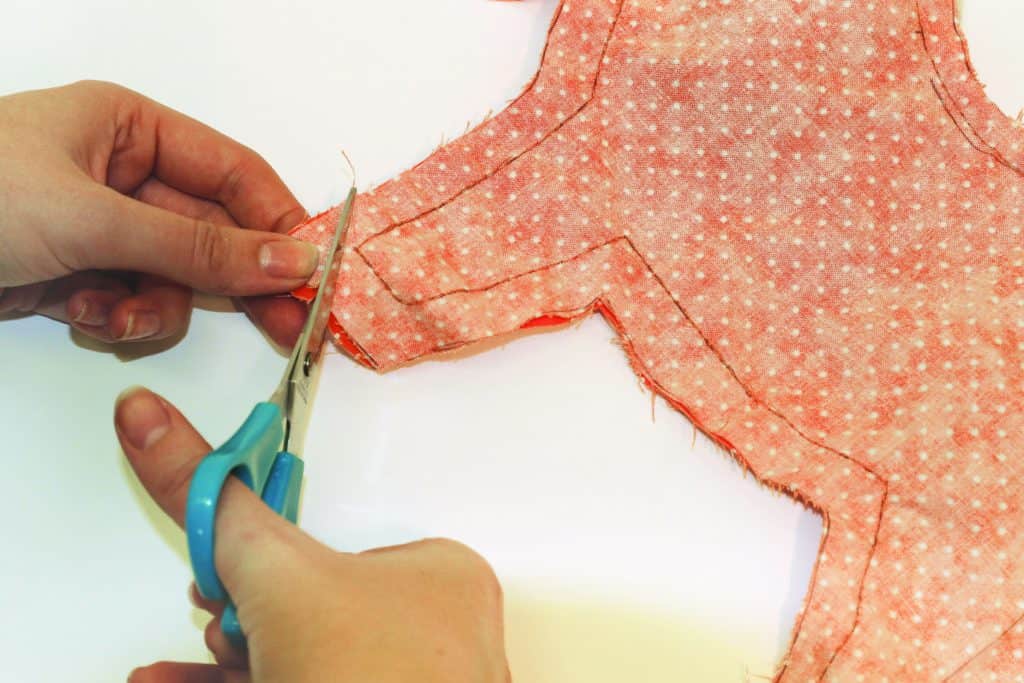
- Cut diagonally across the seams in the corners of the legs and ear to give you sharp corners. Don’t get too close to your stitching!
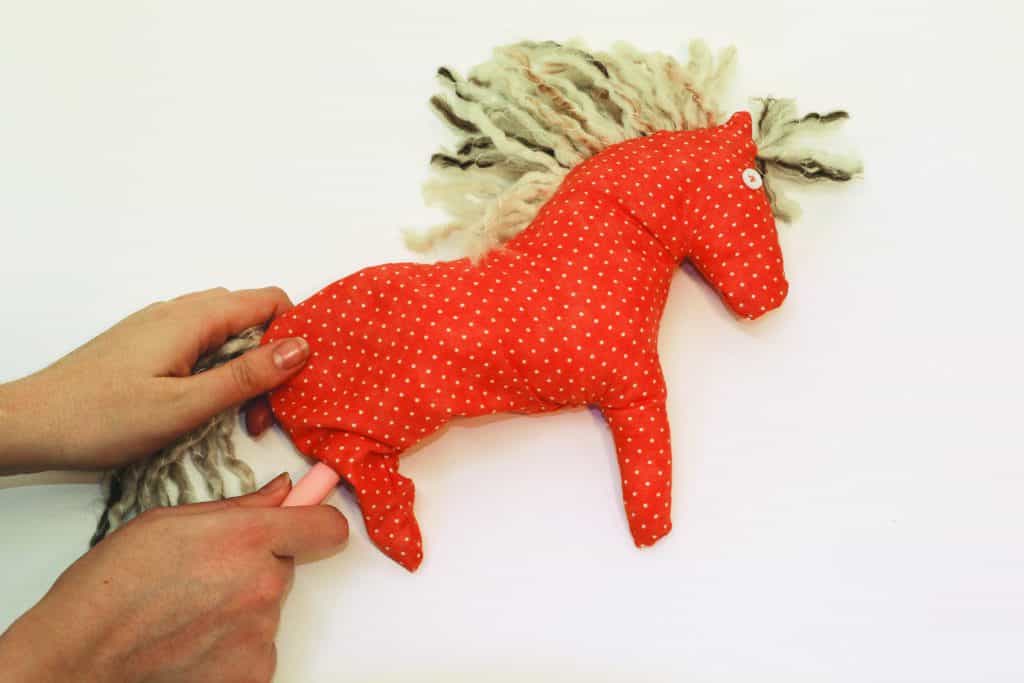
- Remove any pins and turn the fabric inside out, then begin stuffing. Use a knitting needle to poke stuffing into the ear, head and legs.
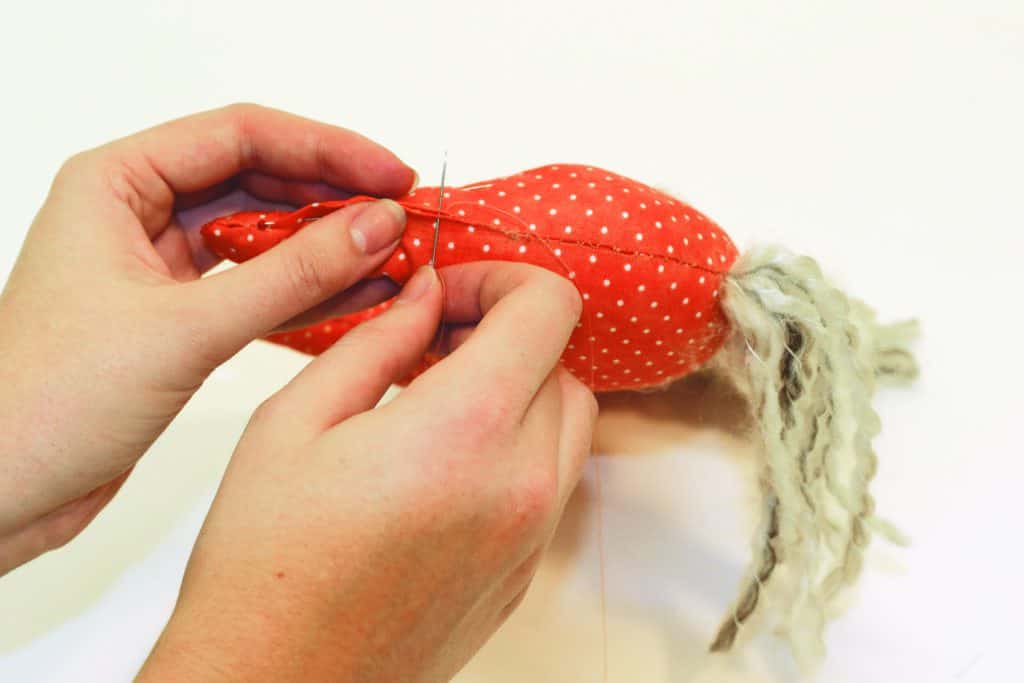
- Sew the gap up using a small, neat overstitch. There you have it – your very own pony cushion!
Your Comments
One response to “Make a pony cushion!”
Leave a Reply
You must be logged in to post a comment.














So cute and quick to make awesome 😎